User Roles And Permissions
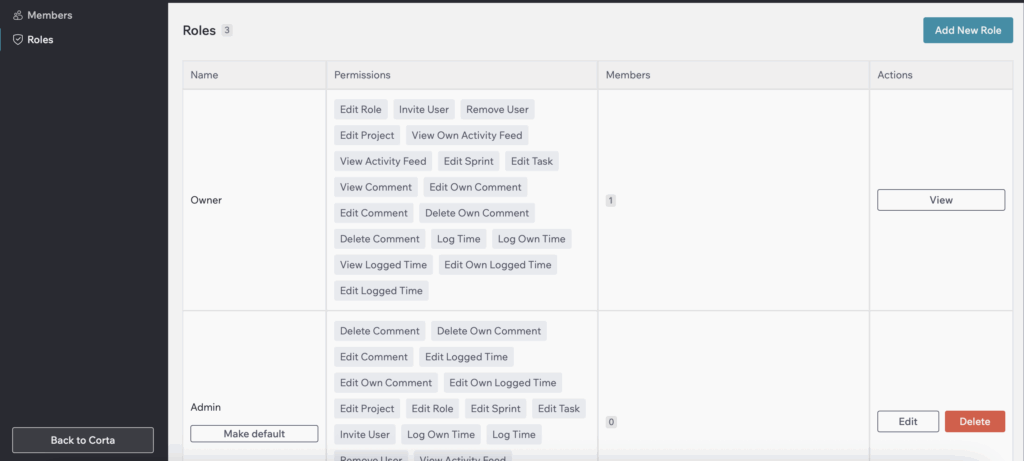
The Roles Page in Corta allows administrators to manage user roles and permissions within the workspace. This page provides an overview of all available roles, their assigned permissions, and the ability to create, edit, or delete roles.
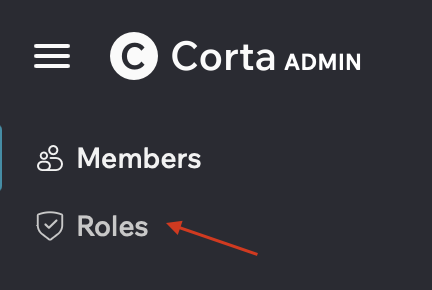
You can navigate to the Roles Page from the left-hand menu under the Admin Console.
From this page, you can:
- Find all existing roles in the workspace.
- View the permissions assigned to each role.
- View, edit, and delete roles.
- See the number of members assigned to each role.
How To Create A New Role
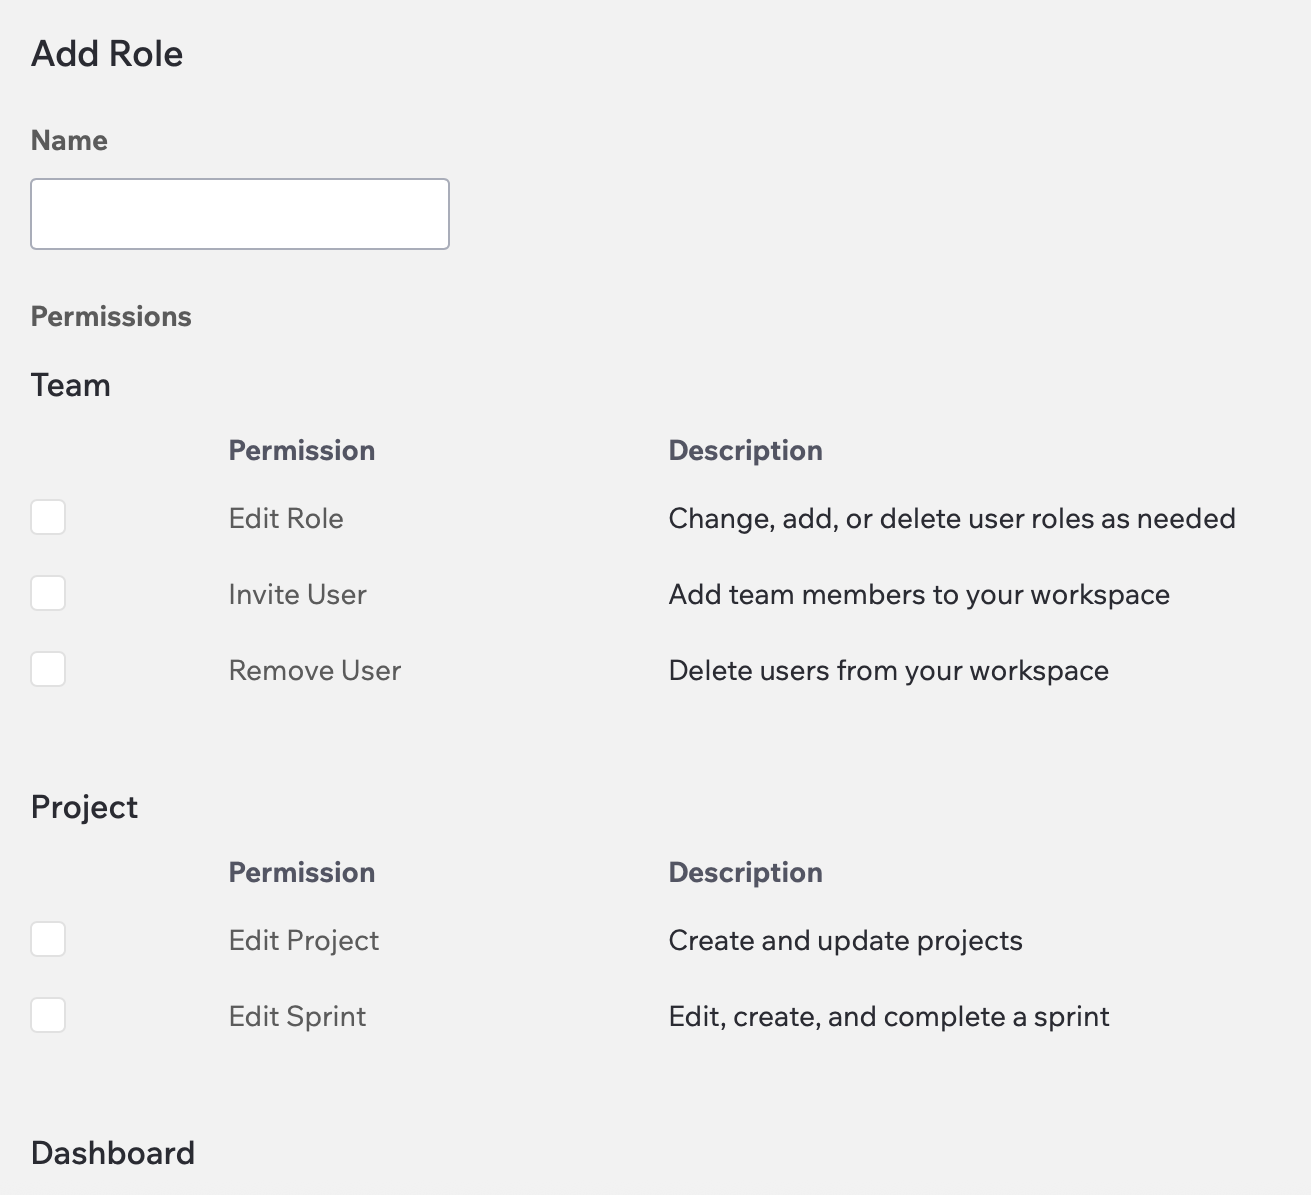
1. Click the “Add New Role” button.

2. Enter a name for the role.
3. Choose the permissions.
You can find details about each permission in the Description block.
4. Click “Save” to add a new role or “Cancel” to discard the action.
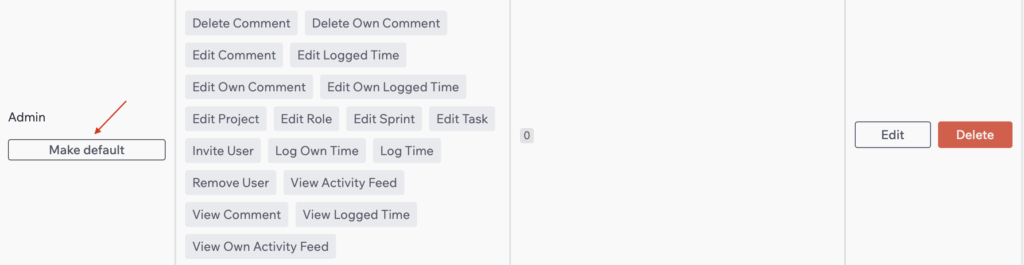
You can mark a role as the default for new users by clicking “Make Default”, which appears under roles that can be set as default.
How To Edit The Role
1. Click the “Edit” button in the Actions column of the role you want to modify.

2. Make the necessary changes on the Edit Role page.
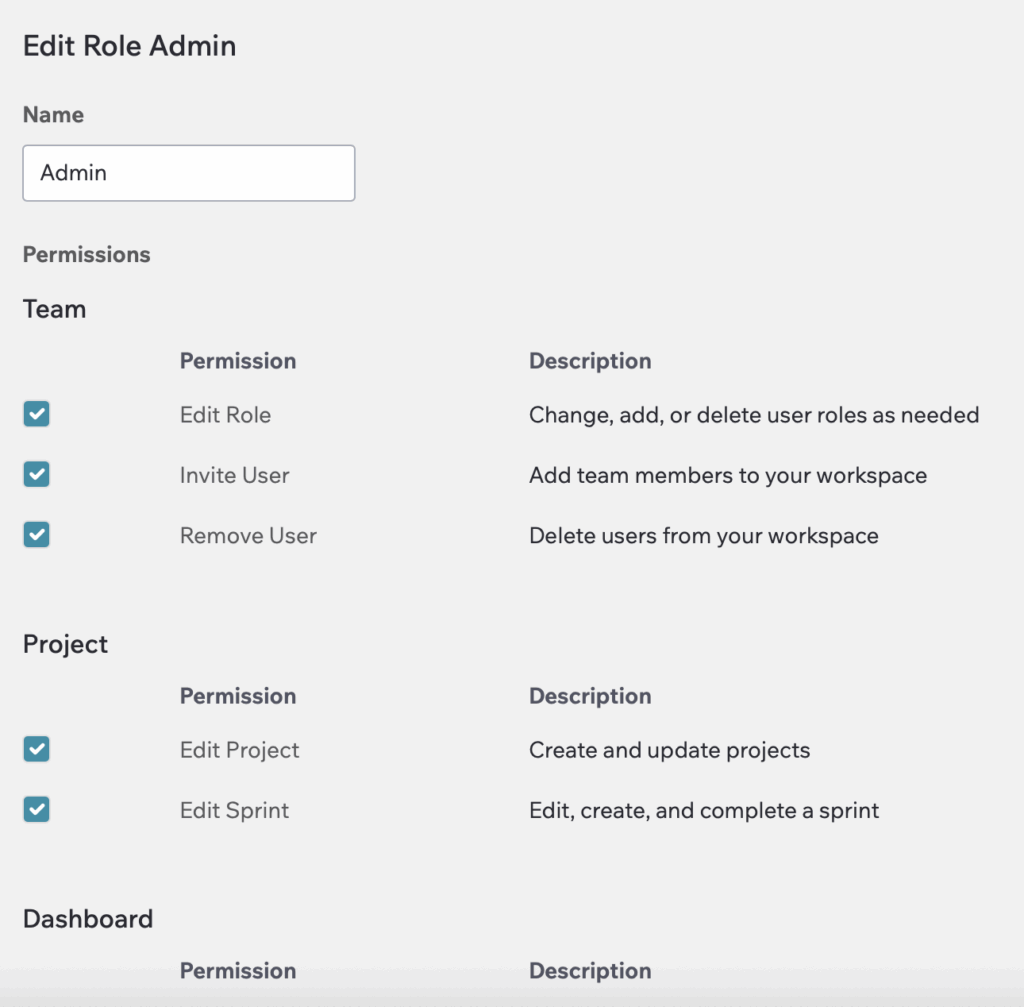
3. Click “Save” to apply the changes or “Cancel” to discard them.
How To Delete The Role
Click the “Delete” button in the Actions column to remove a role (only possible if no users are assigned to it).
